
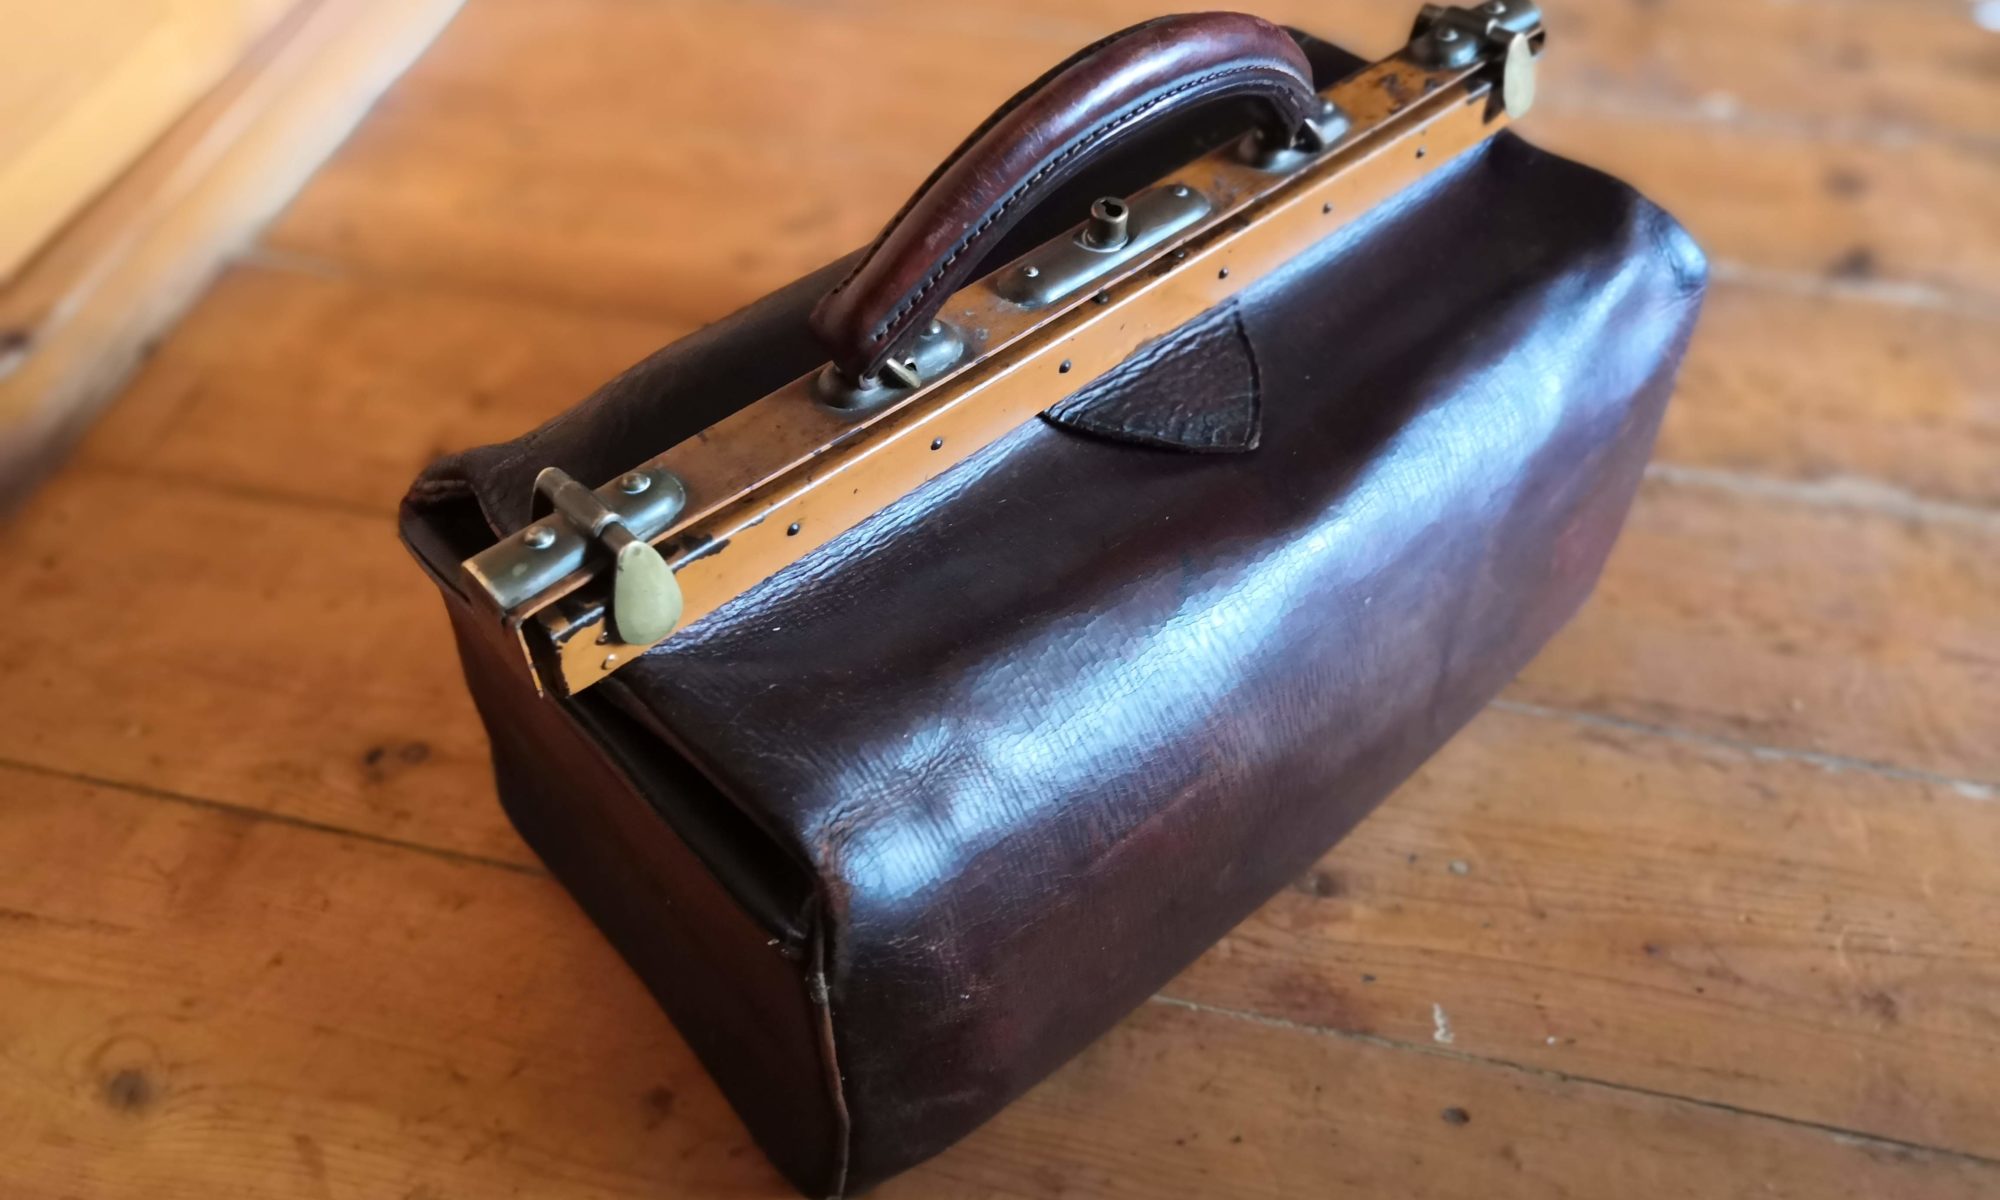
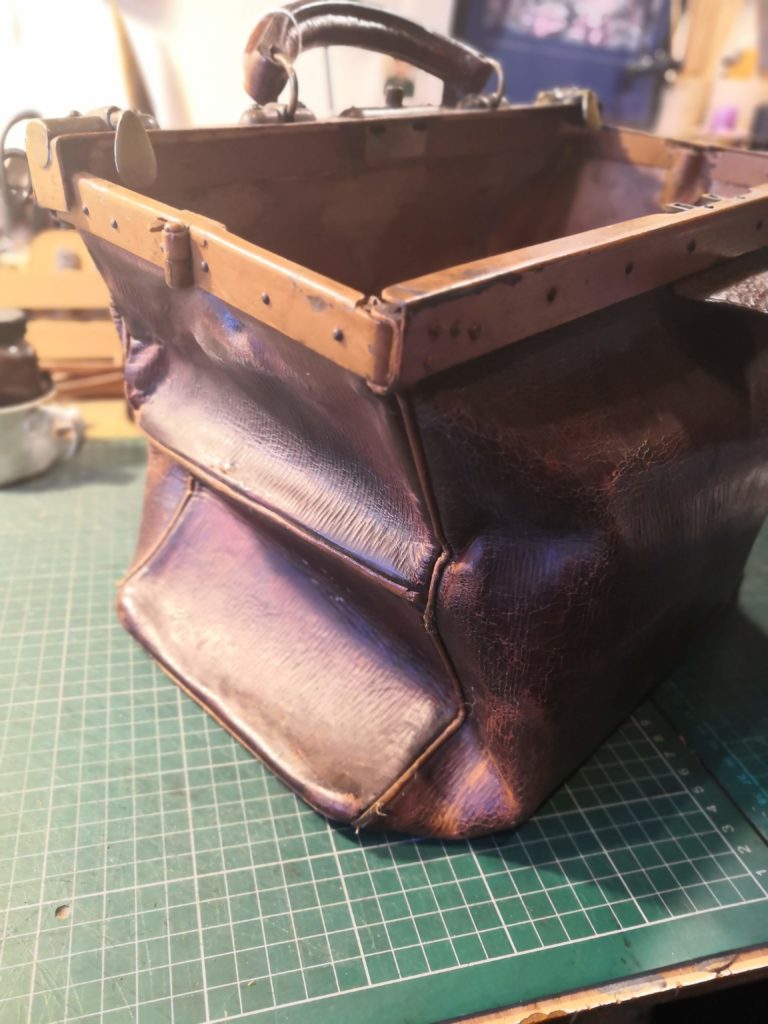
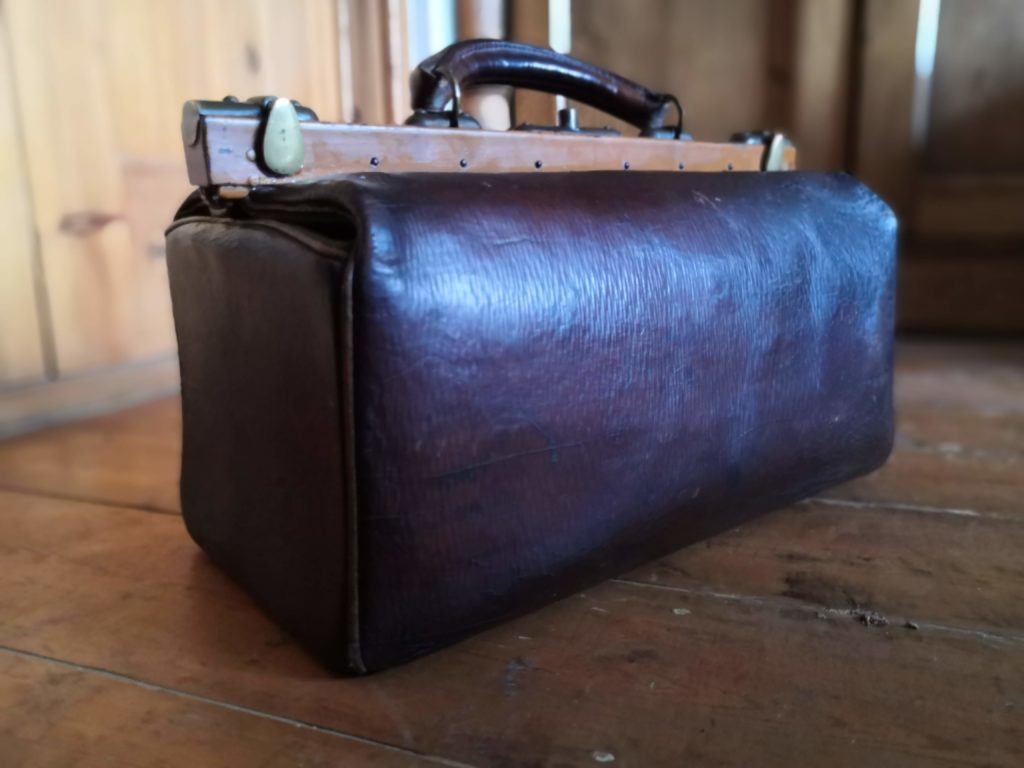
A lady brought me this bag that was her Grandfather’s bag, made about 80 years ago. Some stitching had failed and one of the side walls had collapsed. Here’s what I did to repair it.
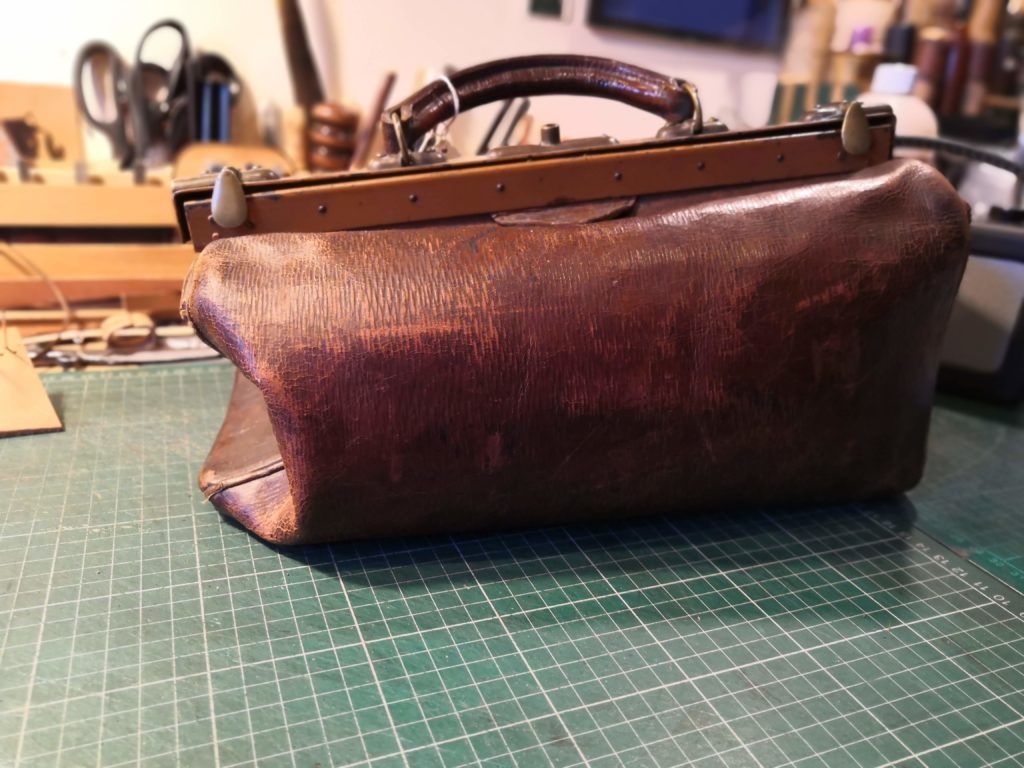
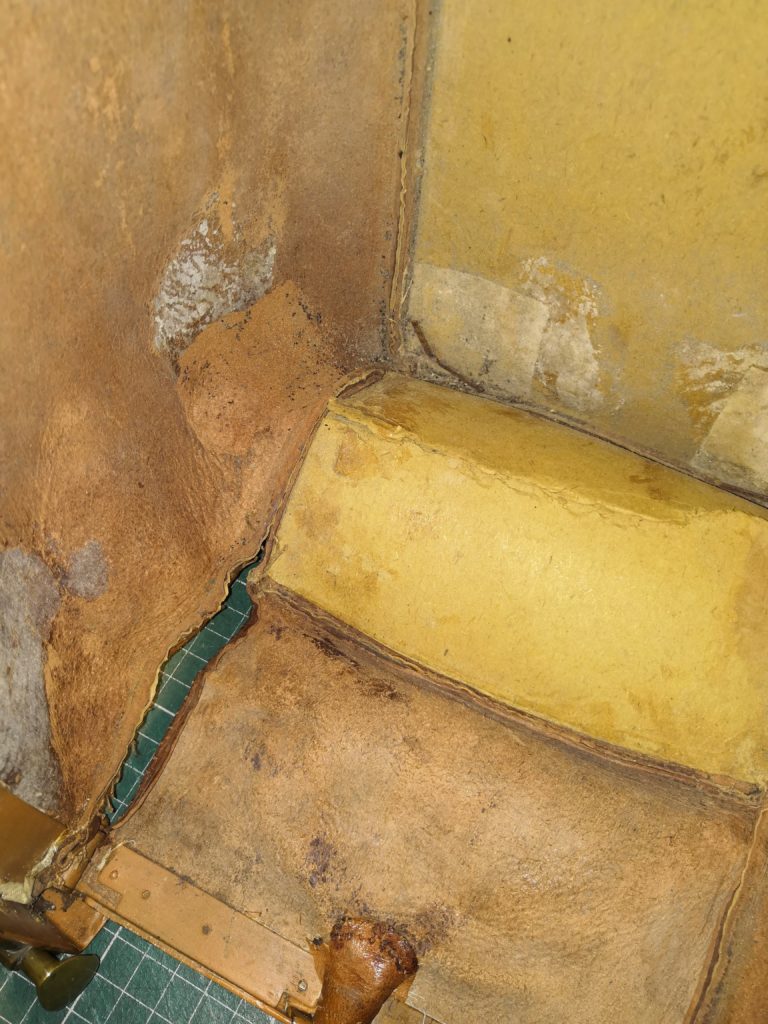
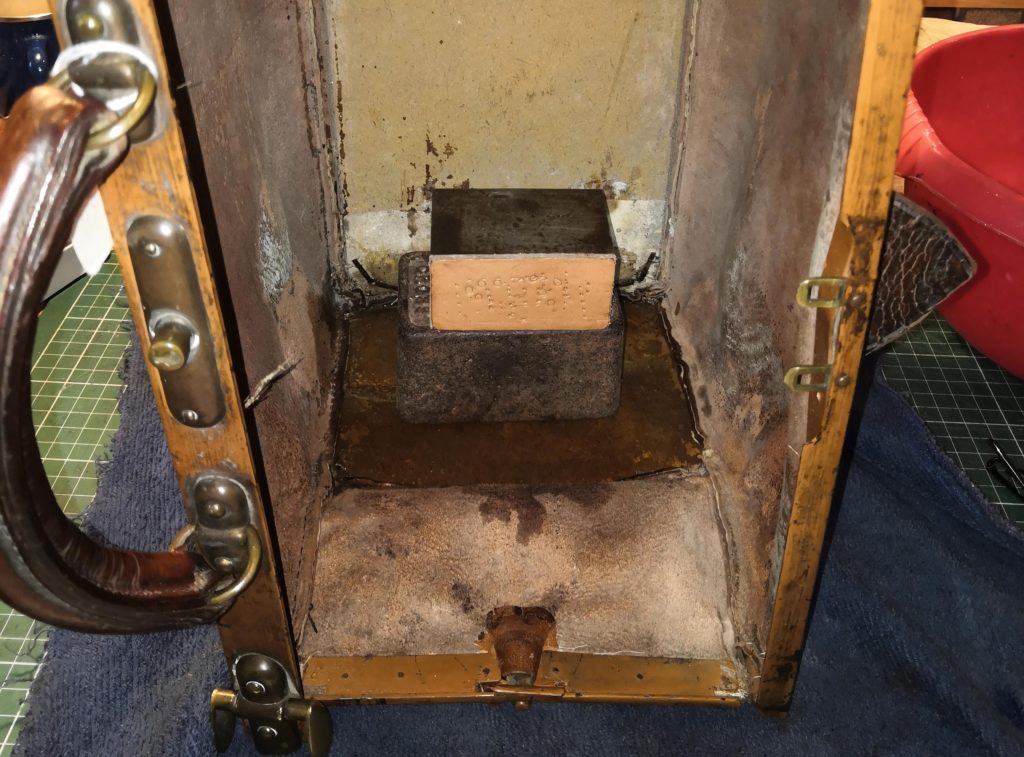
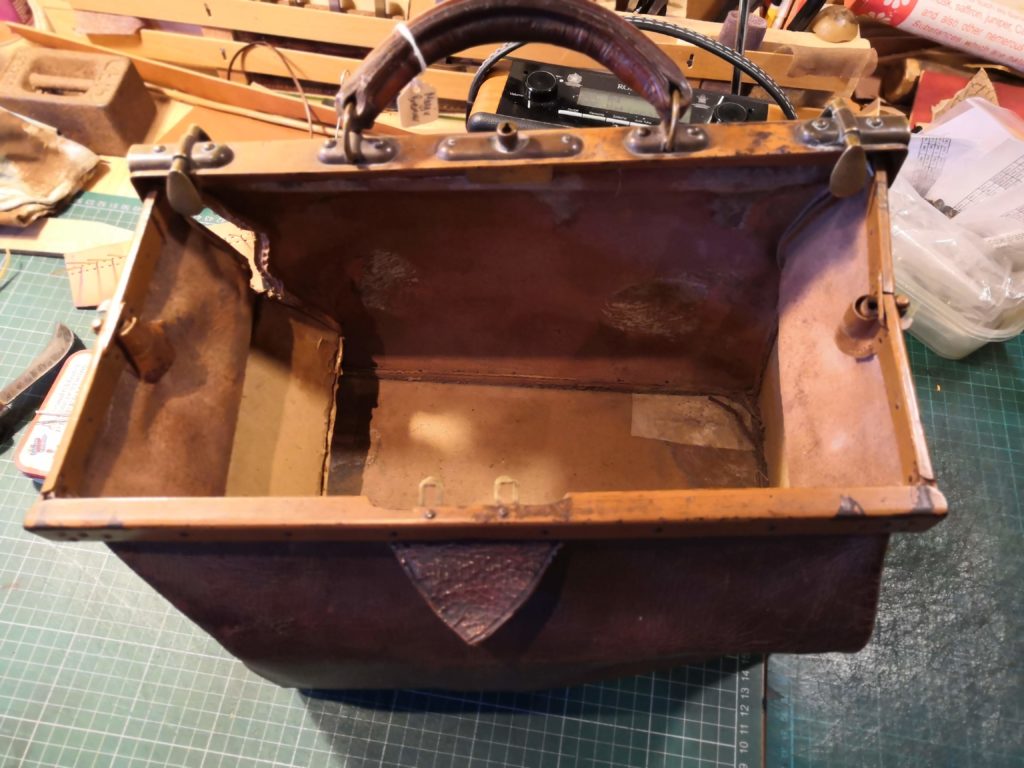
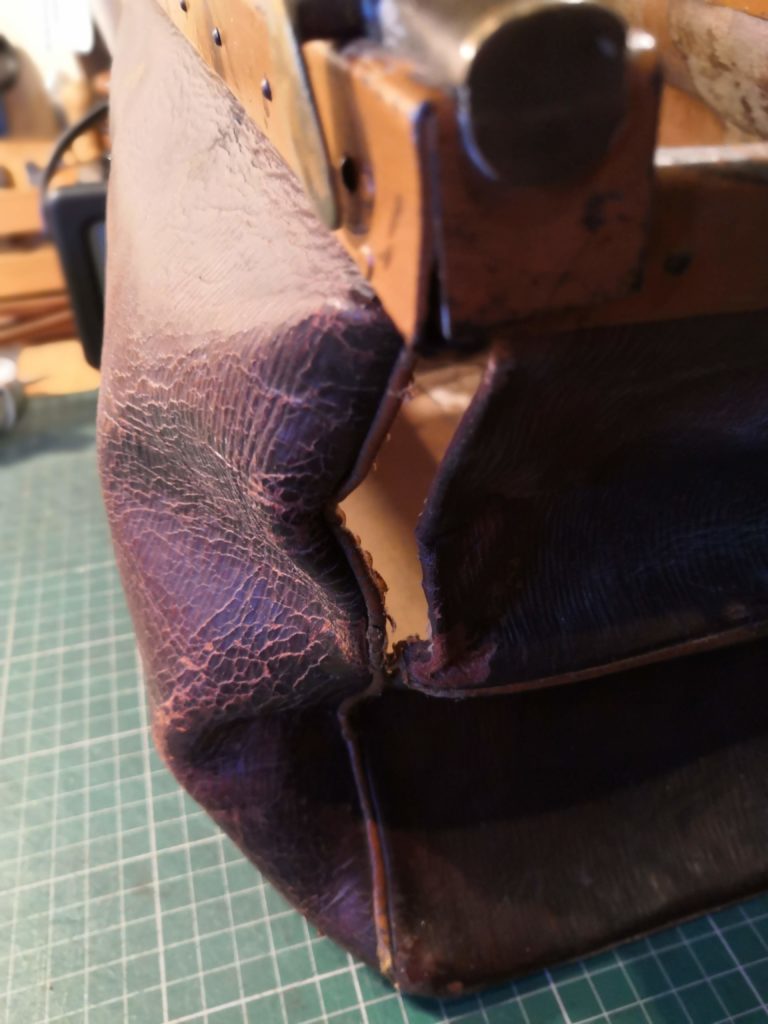
You can see how the side wall had collapsed. Looking inside, after removing the deteriorating lining, the reinforcing cardboard was broken.
To straighten this out I soaked the cardboard to soften it, then flattened it out and left it to dry with weights holding it down. Once dry I glued a new reinforcing piece of cardboard in place.
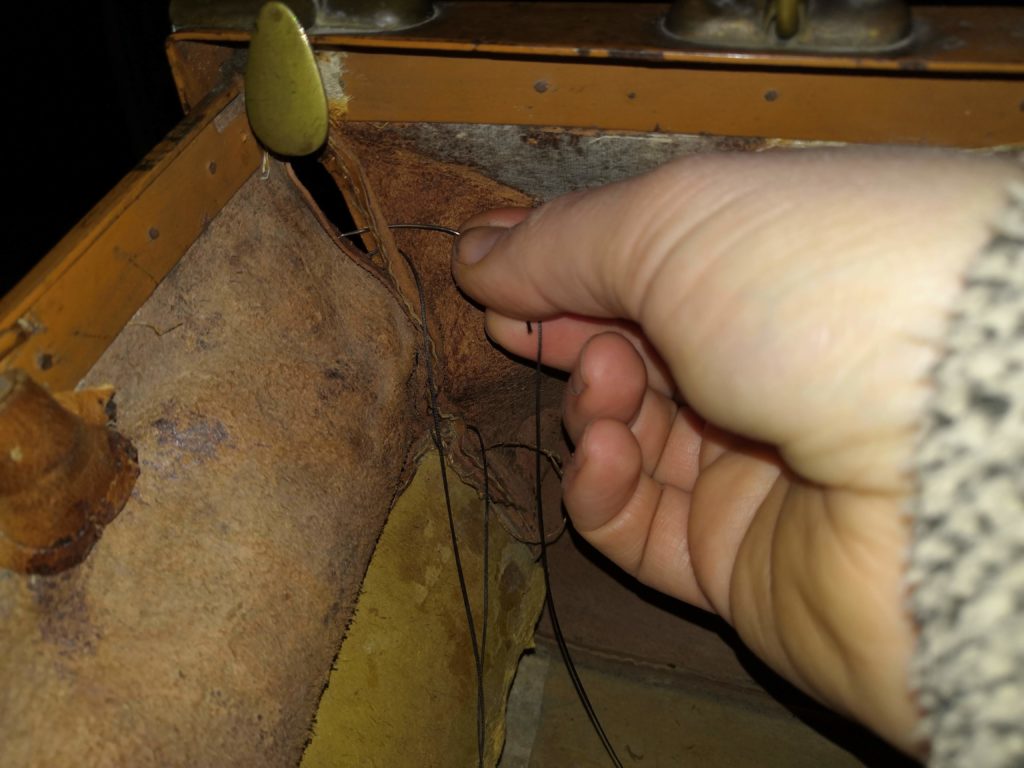
Next up was time to fix the holes in the corners where the stitching had deteriorated.
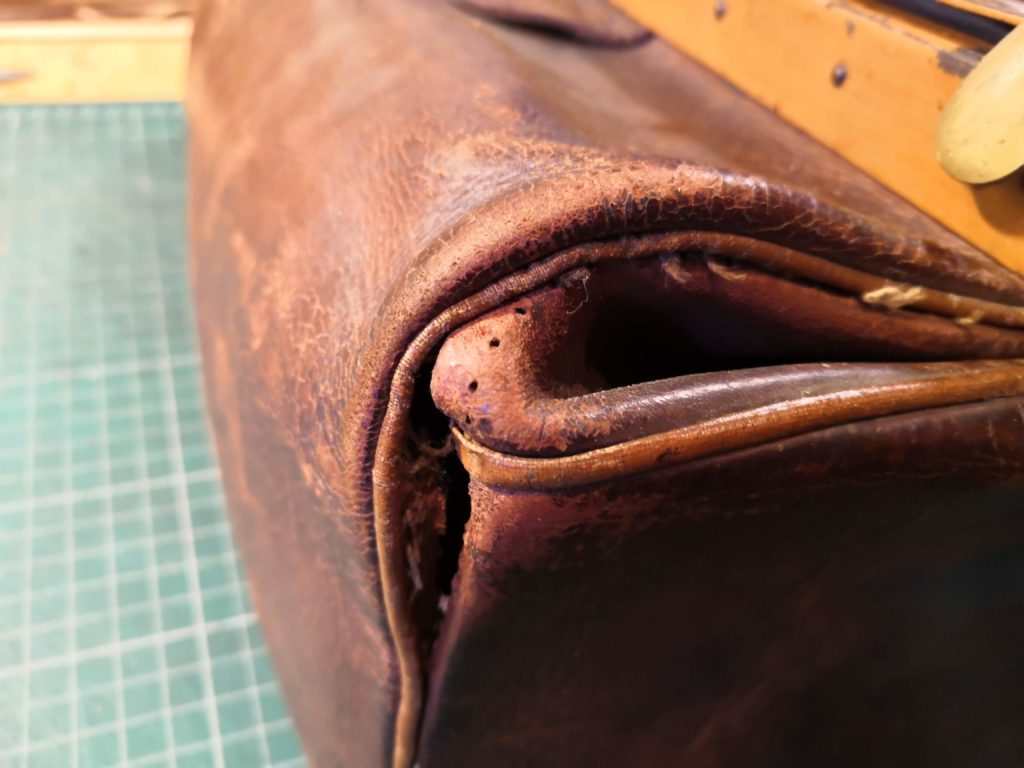
There were two ways to fix this. The first was to remove the metal frame around the opening, remove the reinforcing cardboard and turn the bag inside out. This seemed too big a job and I was in danger of not finding the correct rivets to attach the frame again. So I opted to wearing a head torch, and using a curved needle to work from inside the bag! Quite fiddly but possible.
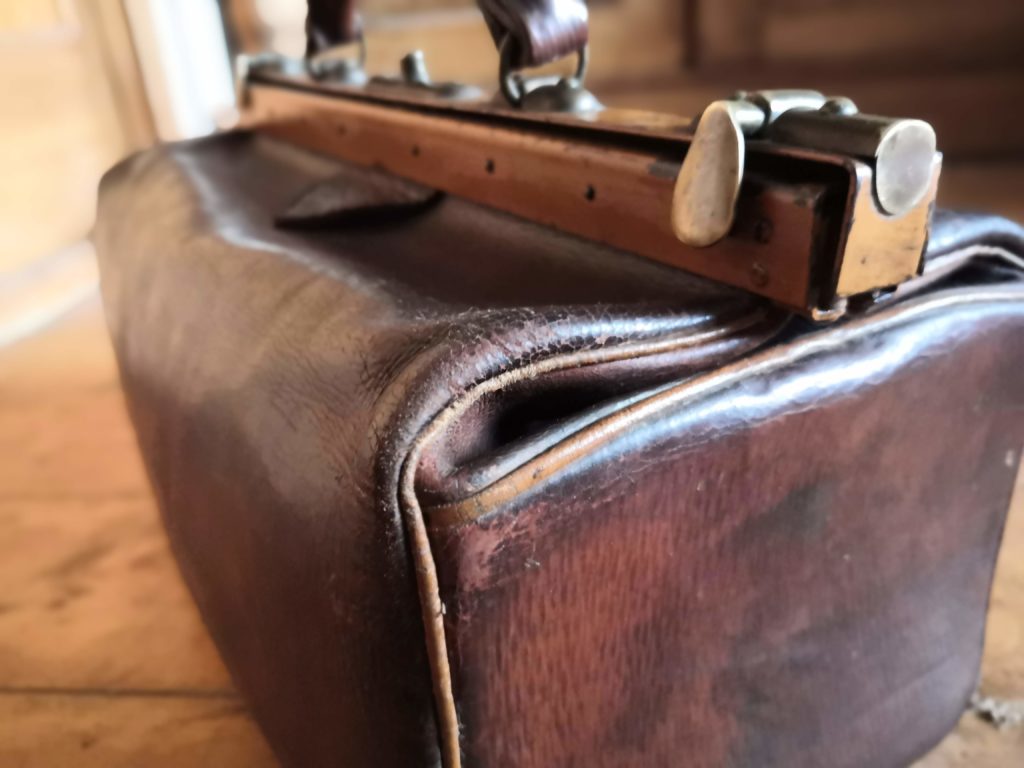
Finally the bag needed a good clean, oil and wax, and it was ready to go. A beautiful little thing. I’d love to work on more of these. An absolute pleasure.
If you have an old and cherished leather item that’s in need of some love and repair then please drop me a line with some photos. I’d love to help.
how did you go about placing the lining back in? I have a gladstone bag in similar condition and need to replace the lining, but I’m not too keen on opening up the frame.
Hi, yeah, so far my repair jobs have either been on bags without the lining or in places where the lining didn’t need to be removed. I’ve yet to drill out the rivets of a bag so I can remove the frame, so not sure how easy or difficult this will be! I’d love to hear from you if you decide to do this…