Making Tool Sheaths

Here’s a little insight into how I manage to make tool covers fit perfectly, without having the tool in hand (apologies for the double entendres in this post! ) .

In this example my customer (a roofing thatcher) has a spar hook that he uses to make the spars that hold the thatching material in place on a roof. Proper job!

He sent me a plan view photo of his tool (snigger) with a ruler in sight.

I then scale the image up on my laptop screen until the ruler matches reality.

Then I trace around it. Simple eh!?

Obviously I have to allow a little as perspective/wide-angle lenses can change the shape slightly but so far I’ve had no problems.

And here’s the final cover, completely hand-cut and hand-stitched, finished with natural oils and beeswax. I’ve attached a flap and press stud to hold it in place.

At first the tool will be a tight fit but over time the sheath will stretch and mould to the shape of the hook.

Drop me a line if you’d like to get a quote for a cover for your tool ?

Patchwork Stool

I had some great fun putting this padded seat together for this piano stool. Using up lots of scrap pieces of leather and laying them out like a jigsaw.

I stitched each piece together using a cross stitch to form the top.

Then attached the walls.

Then padded it out with wool fleece and finally attached it to a beech wood stool.

If you’d like to commission something similar then please drop me a line!

Oak Bag

A durable shoulder bag made from chunky Oak Bark Tanned “London Colour” bridle leather.

This is the leather. It has a beautiful colour and a very unique smell – I can tell by the smell alone that it’s from the tannery in Devon.

Before starting this commission i confirmed all the details with the customer by sending diagrams and descriptions.

My customer also wanted me to use “veg tan” coloured thread, which I don’t usually use, but I have to say, I’m loving it. Below you can see a dyed and burnished edge and part of the back pocket.

All the leather has now been cut and the main wrap-around piece stitched together. 

Almost ready to start stitching, but first l need to finish the buckles for the front and shoulder straps.

The front buckle and strap will incorporate a hidden magnet (well, actually 10 hidden magnets) to allow the bag to be opened quickly without opening the brass buckle. Below you can see the split leather with magnets glued in place.

So here’s the finished front buckle and magnetic pad that it sticks to. The pad is sewn to the front pocket.

Here’s the front buckle and shoulder strap buckle side by side. The front one is 1 inch wide, and the shoulder strap is 2 inches wide.

Finally I stitched the sides on which completed the bag.

Below you can see the inside front pocket.

Back pocket and shoulder strap below.

The finishes bag. I’m so please with it. It gonna last many many years as it’s solid and sturdy.

And here I am, showing it off in my back garden! I really ought to find a decent model!

If you like what you see and would like your own bag designing then please get in touch.

Next up… a round tool bag for a plumber… I’ll post updates and photos soon.


Bookbinding Course

Last month my wife treated me to a book binding course in Lancaster with Big Leaf Books. It was a great day learning the intricacies of cutting paper, stitching signatures and attaching them to the hard backed cover.

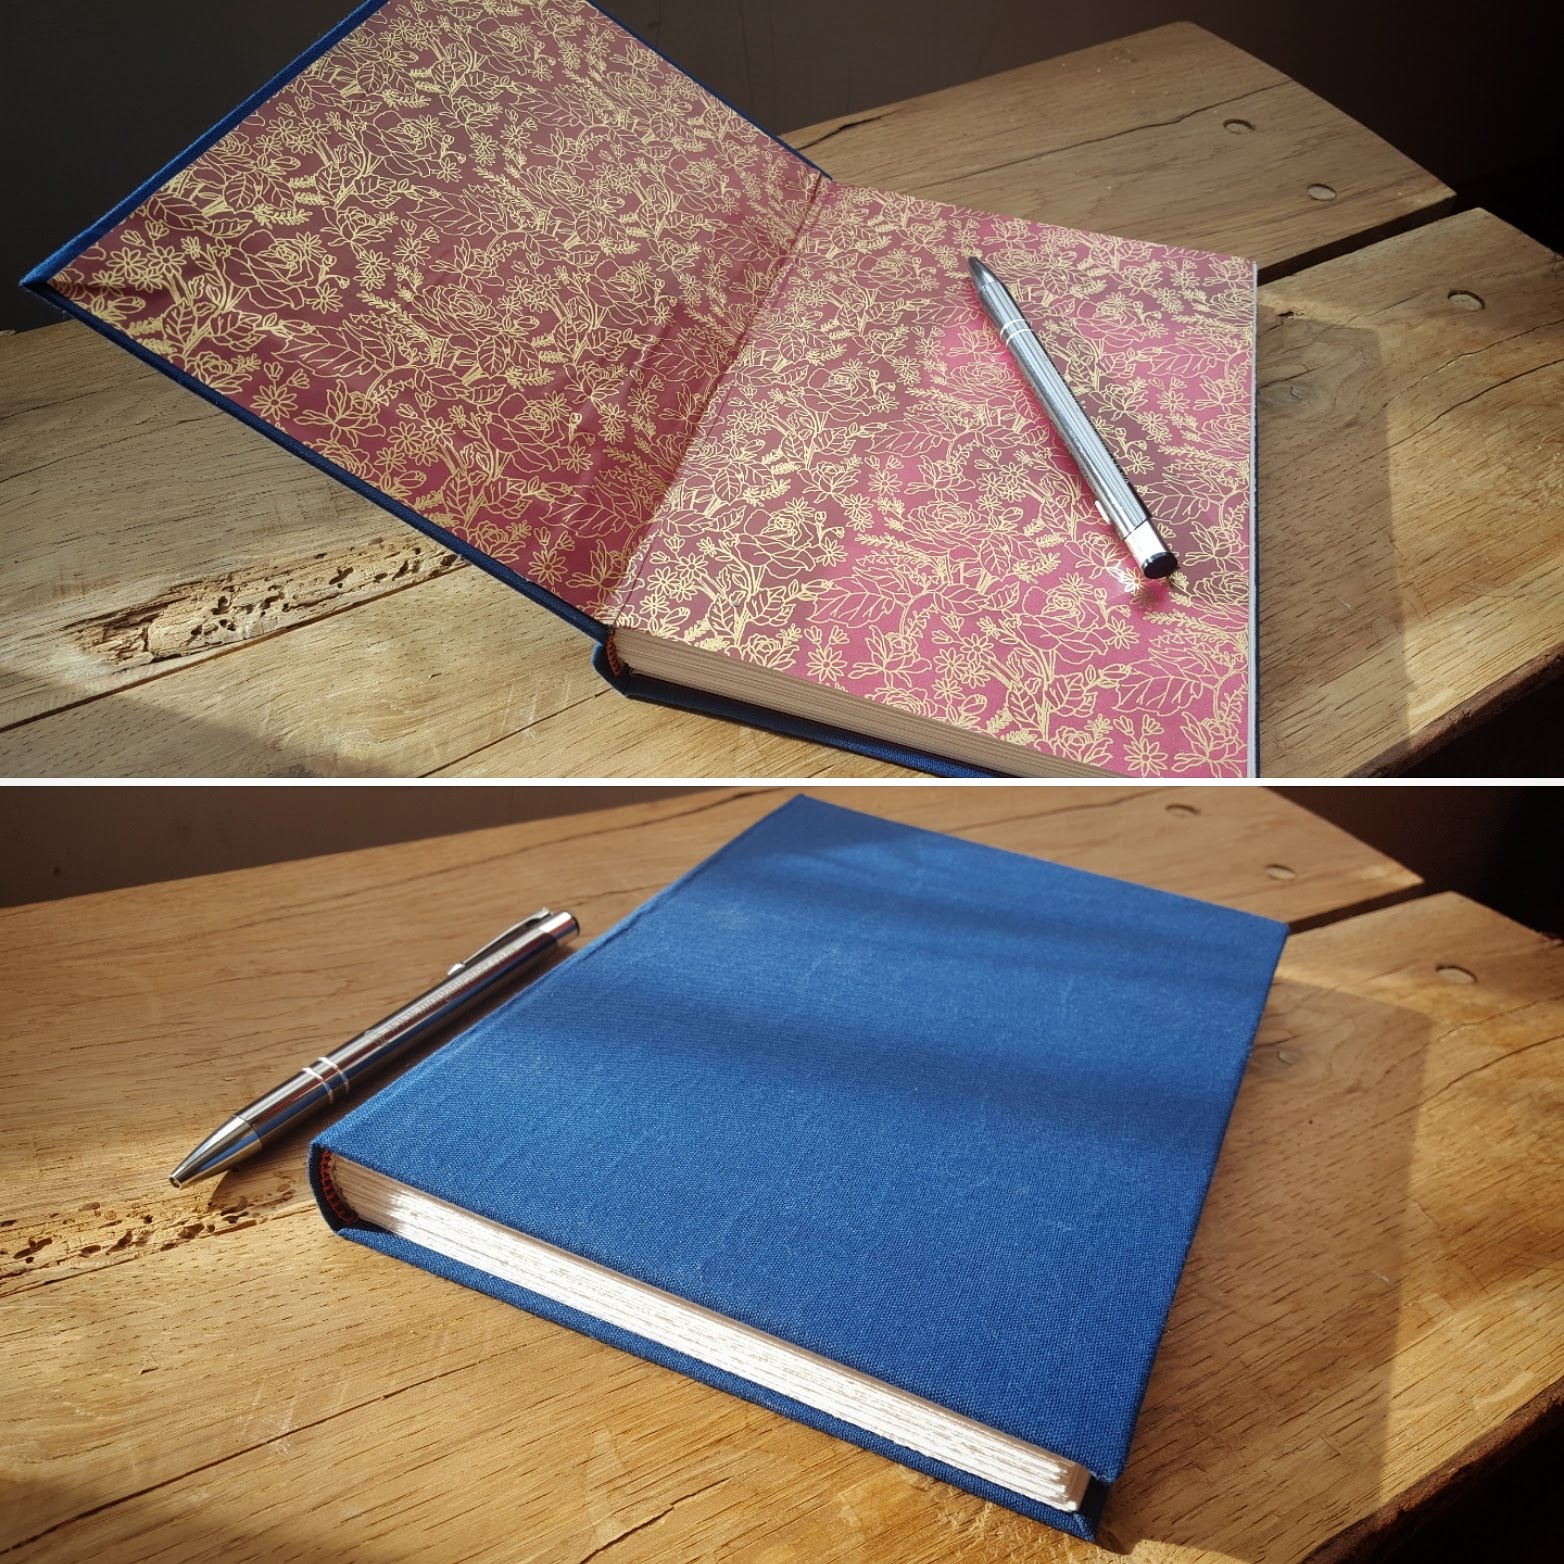
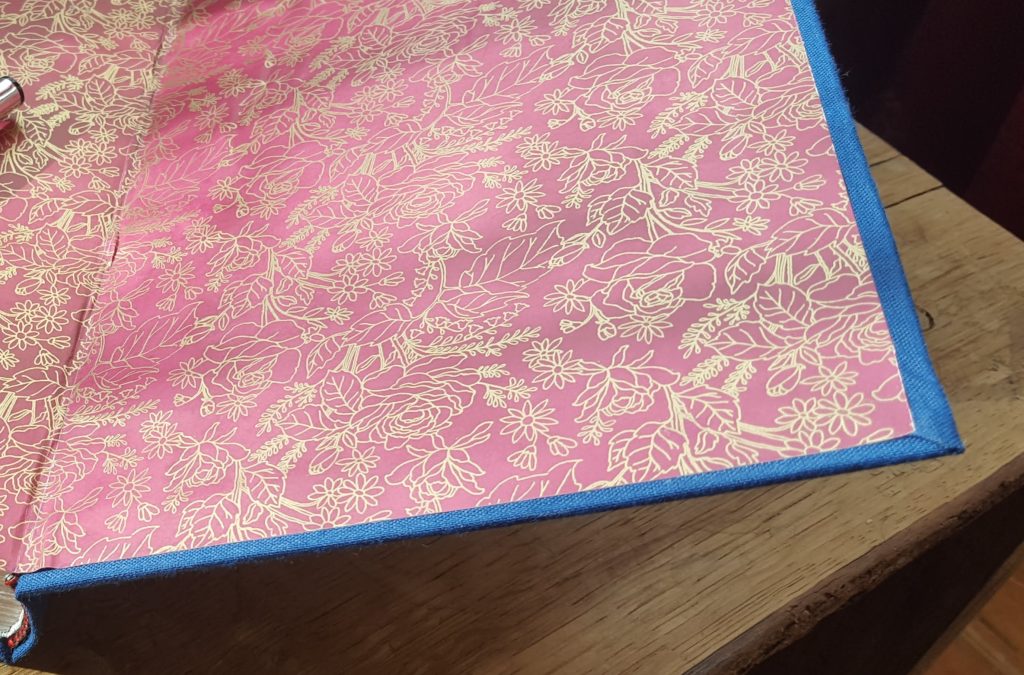
I was pretty pleased with the end result:

Now I’m keen to use what I learned to make leather-bound notebooks.

But before I do that I’ll tell you (roughly) how to make a case bound book…!


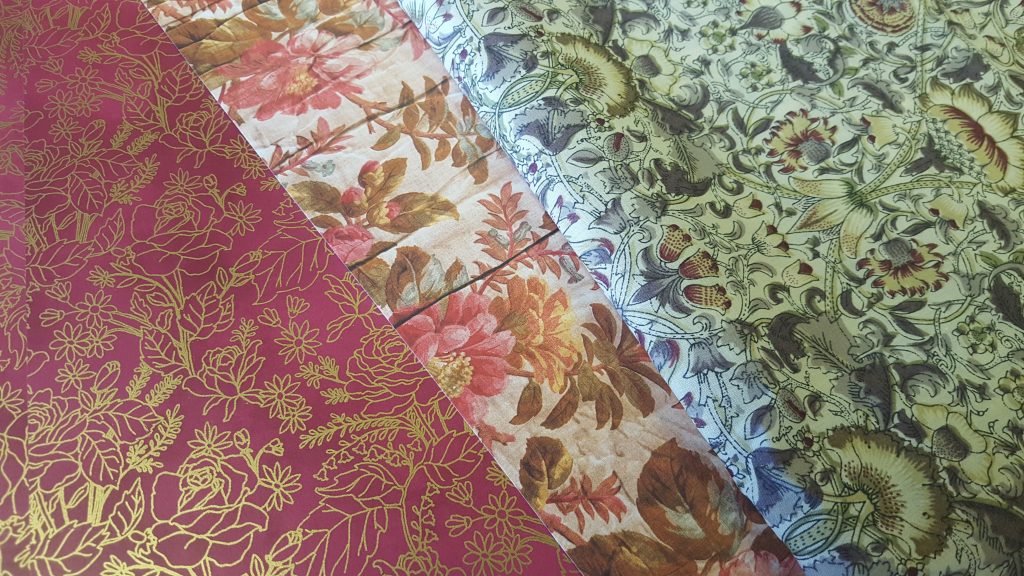
First we selected which paper to use for inside lining and the front and back cover. So many choices! I wanted my outside to be plain blue so thought the red and gold flowers would go well inside.

The next job was to make a set of 8 “signatures”,  each one being a set of 4 folded pages made from cutting up a sheet of A2 cartridge paper. Sounds complex but it’s easy.

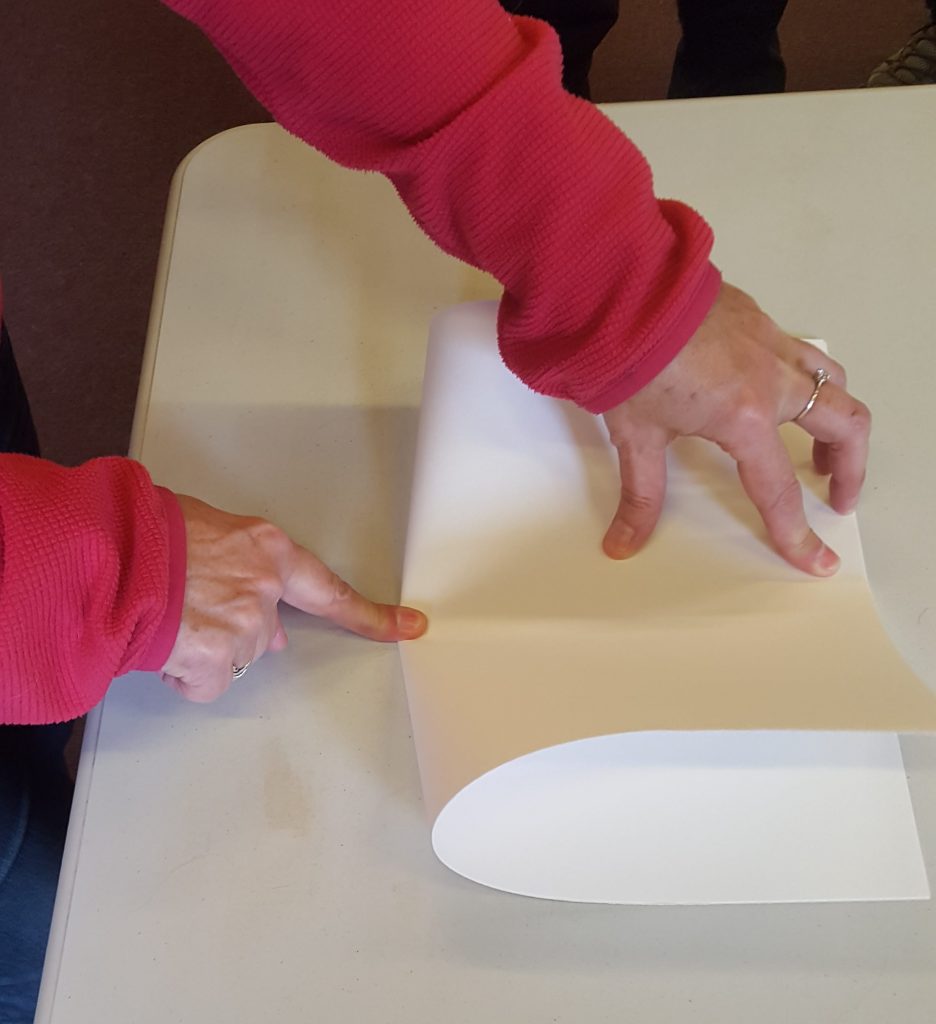
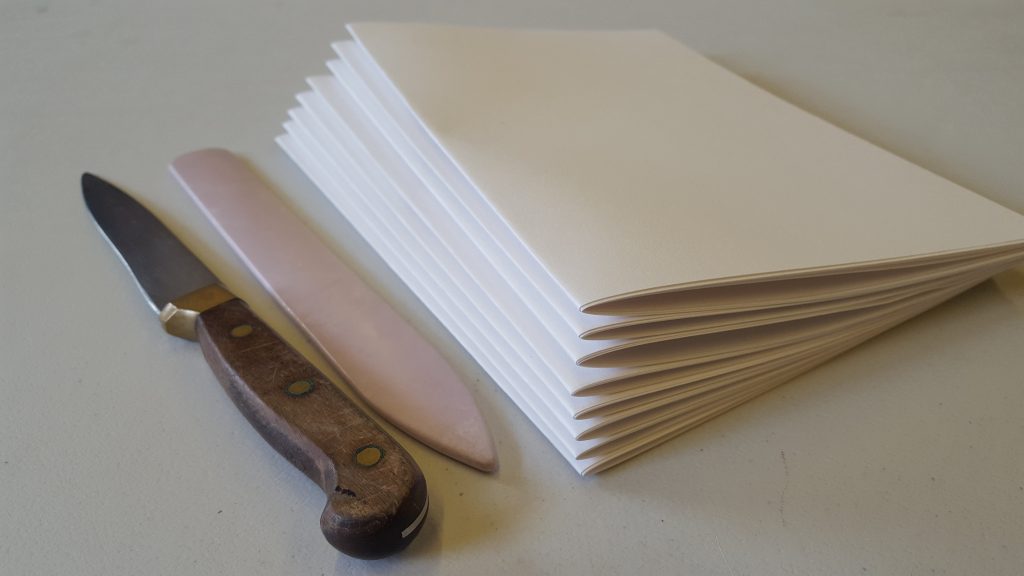
Fold the A2 sheet in half. The fold was made sharp using a bone folder…

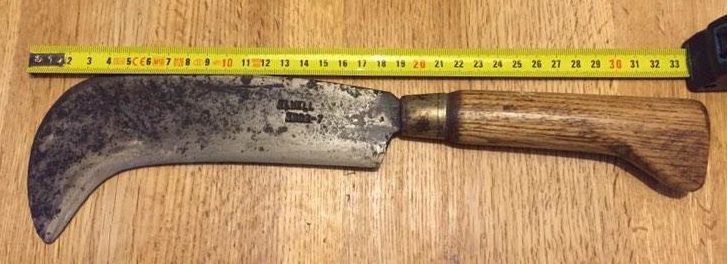
Then use a blunt(ish) knife, and the edge of the table, the cut along the fold. Now you have 2 sheets. Carefully fold these in half, keeping them together, and cut along the fold again to get 4 page. The fold these in half and put to one side. We called these “signatures”.

We repeated this 8 times to end up with 8 signatures.

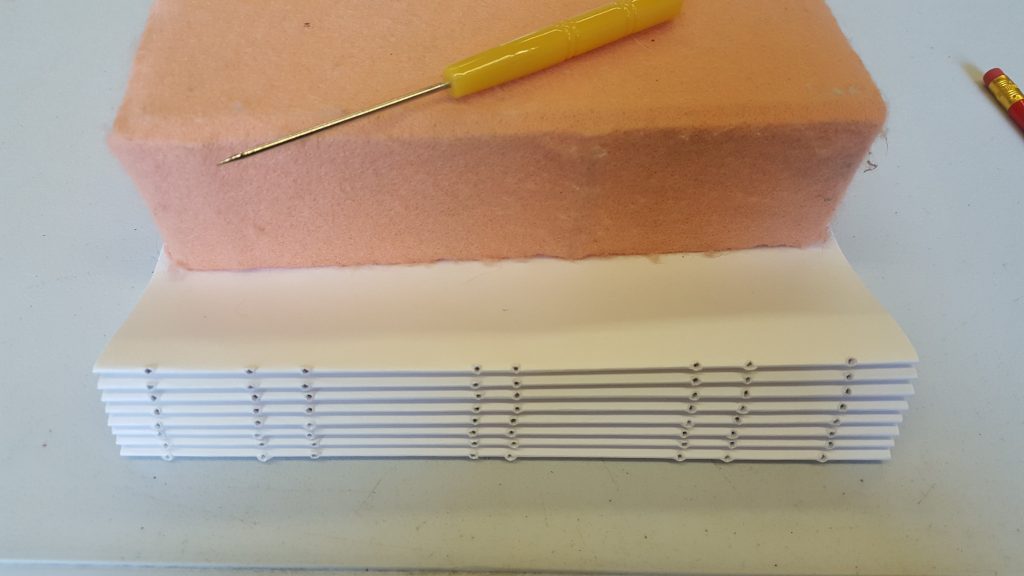
We marked the inside of the middle sheet in each signature with 8 dots using a template, then pushed an awl (shown in the photo) through the paper from the inside to make 8 holes on each of the 8 signatures that contained 8 pages each.
I don’t think it needed to be 8 of any of these things, but obviously for uniformity…!

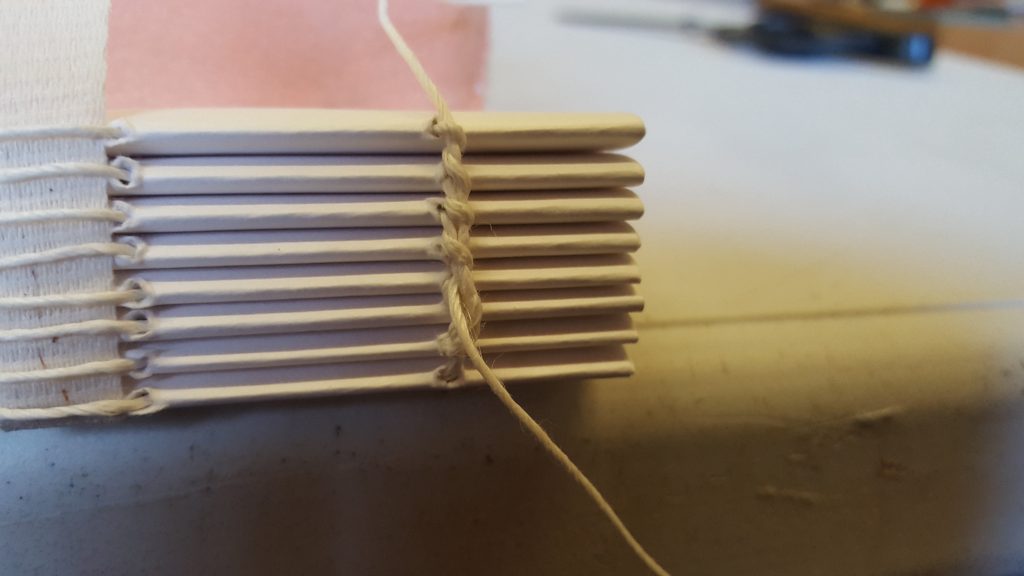
Then we started sewing the signatures together, including two cotton tapes, which will be all that’s needed to glue to the book cover. The sewing is simple – in and out along the first signature to hold those 8 pages together, then step up to the next signature and along that. Before stepping up to the third signature (shown below) you went back down to the first signature with your needle and thread and then back up again. This gave a continuous vertical stitch line. The whole task was made easy by using a brick covered in felt (shown above) to weigh the signatures down and to stop them from moving. You then had two hands available to carry out the stitching. It was also easier if you moved the stitching to be over the edge of a table.

A full set of signatures, all sewn together, is called a “book block”.

I’m afraid my memory, and photos, got a bit vague from here on in as we were against the clock to get our books finished, but basically the next steps were:

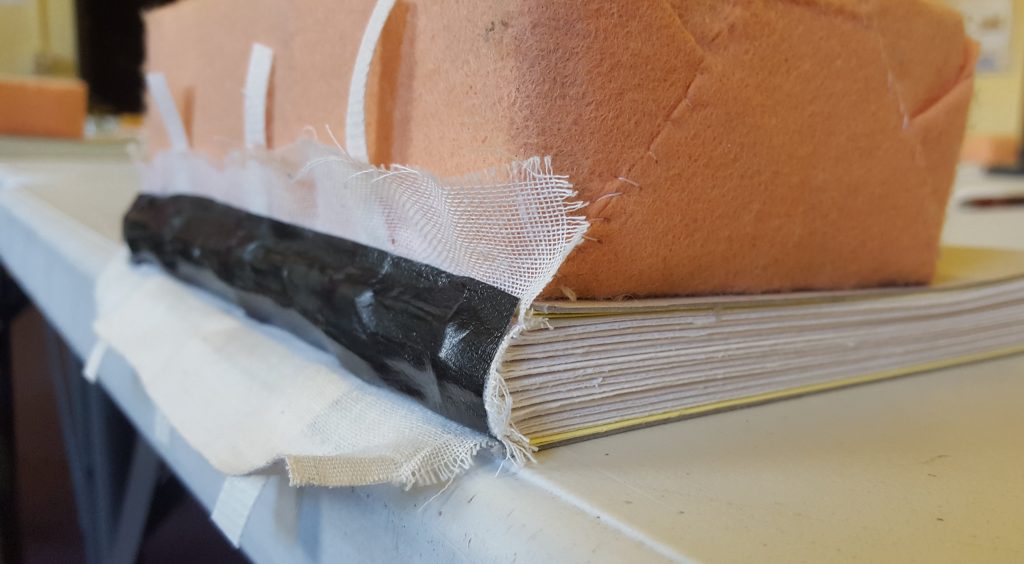
  • the edge of the book block was hammer round and slightly flayed,
  • a coating of PVA glue applied and a piece of open-weaved material, called “mull” stuck on and rub in,
  • then over this a piece of strong paper, the same length as the length of the spine, was stuck and pressed in place.

What remained to do was to:

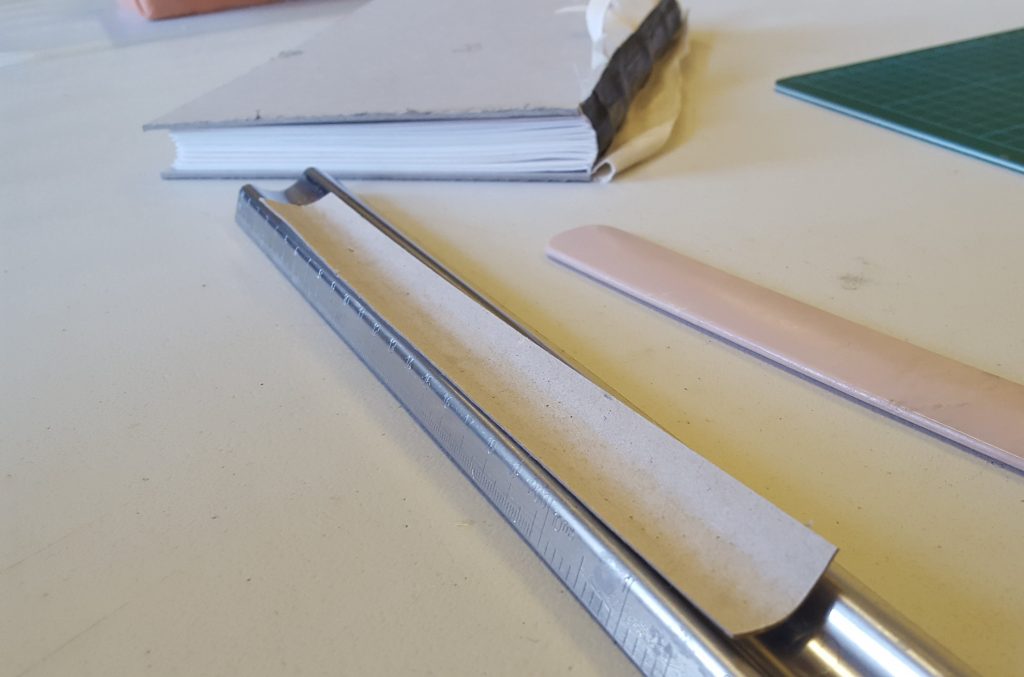
  • Cut the book boards (the thick cardboard for the front and back covers).
  • Cut and shape the spine from another piece of card. We used the top of a safety ruler to get the bend in.
  • Cut the outer fabric or book linen.
  • Glue the spine to the centre of the fabric, then glue the front and back covers on. This was all done by eye, leaving a gap of about 3mm between each.
  • The corners of the fabric were cut and then the folded over to the inside, with special attention paid on the corners.
  • Then the lining was glued to the first page and the inside of the front cover, to cover the mull and tape.

This last bit was tricky when done by eye, but turned out ok for a first book!

I’d highly recommend attending a local book-binding workshop. Not only did I learn new skills but also met some very interesting people.

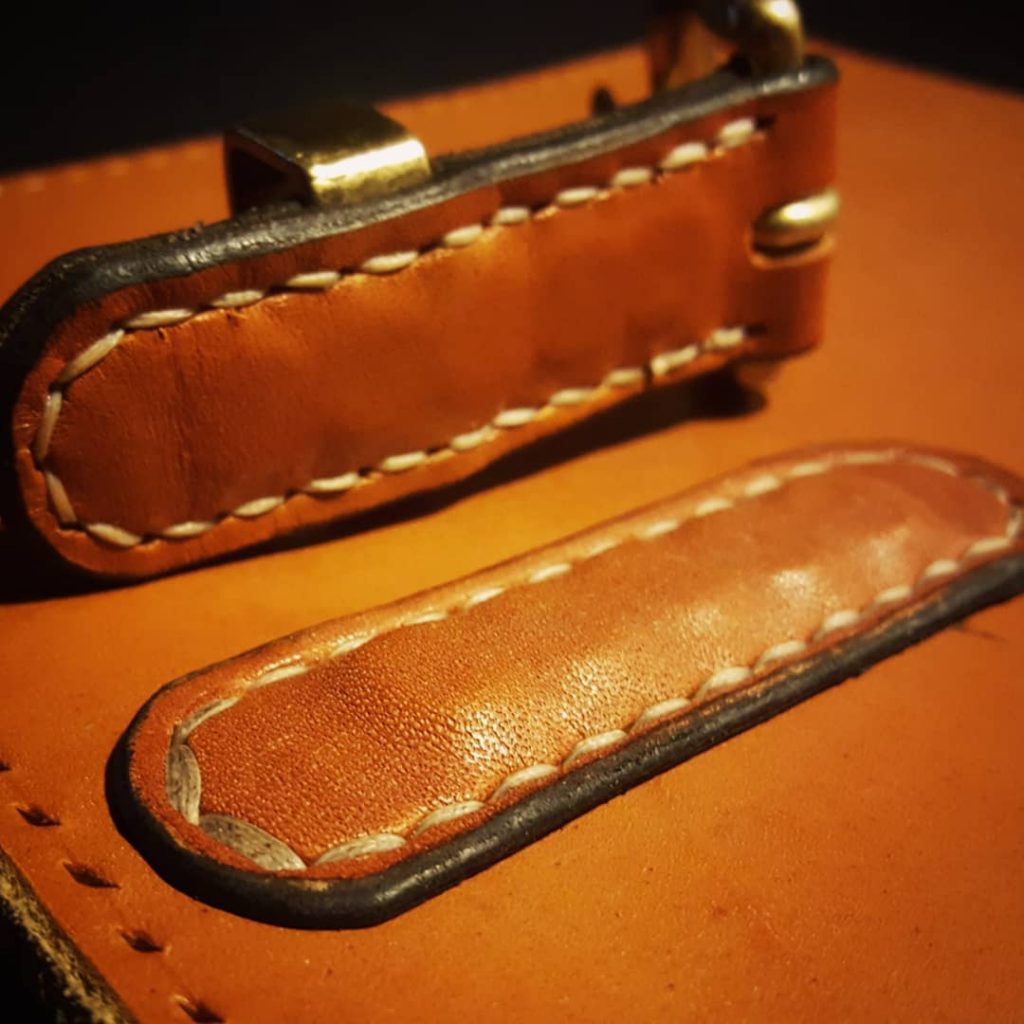
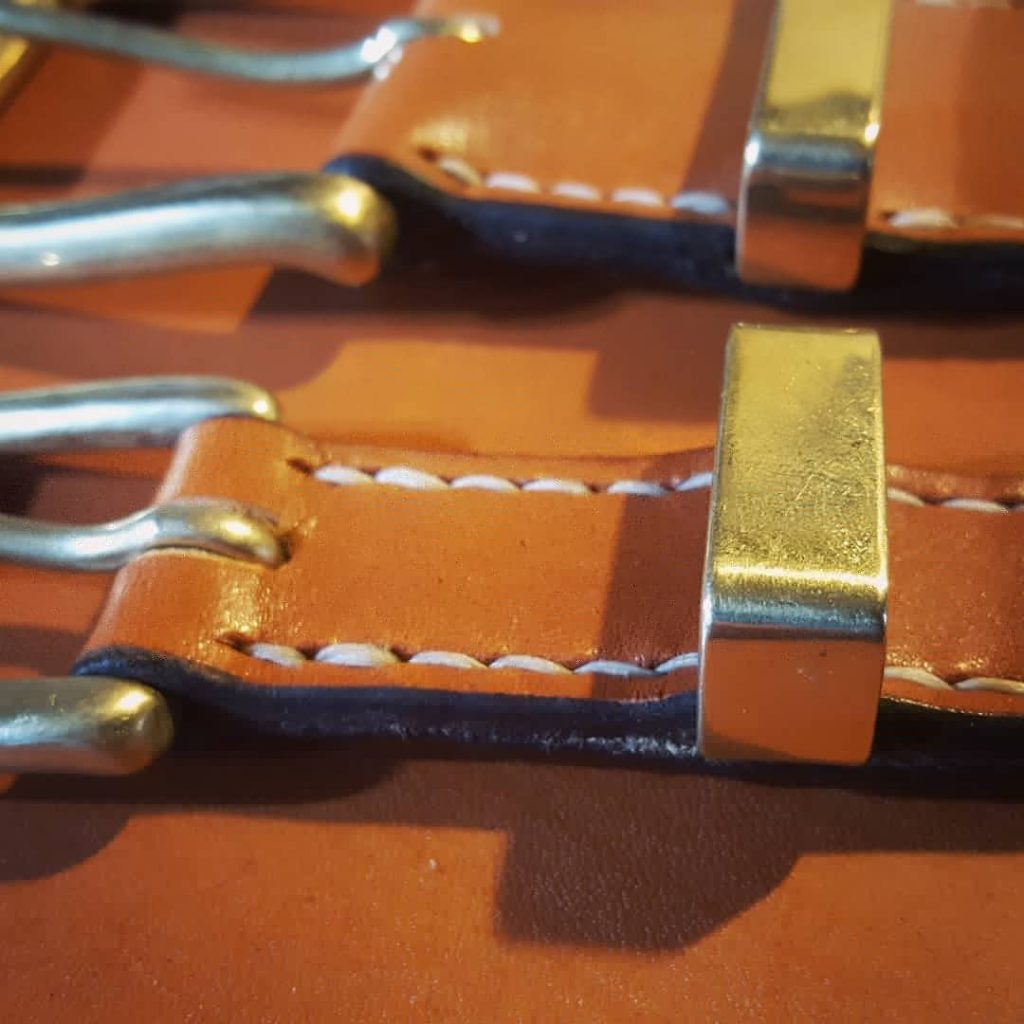
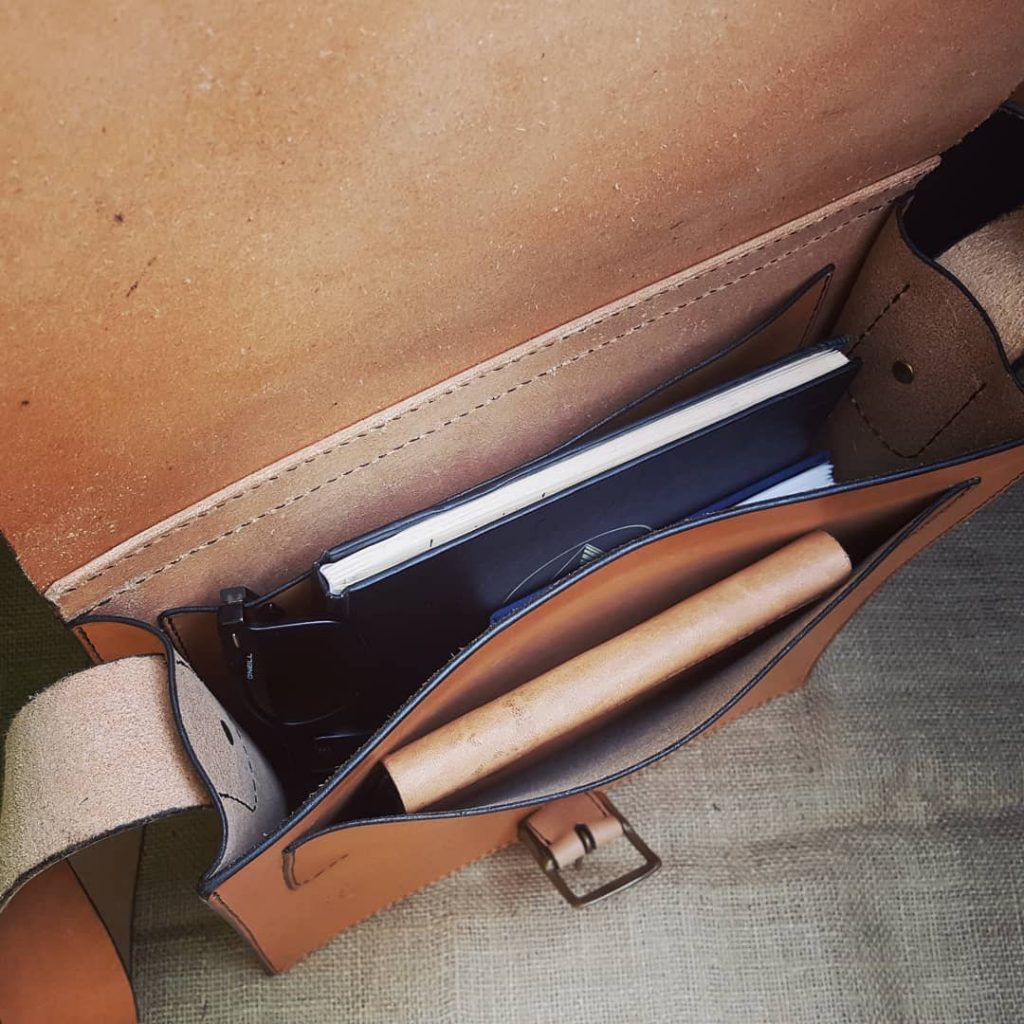
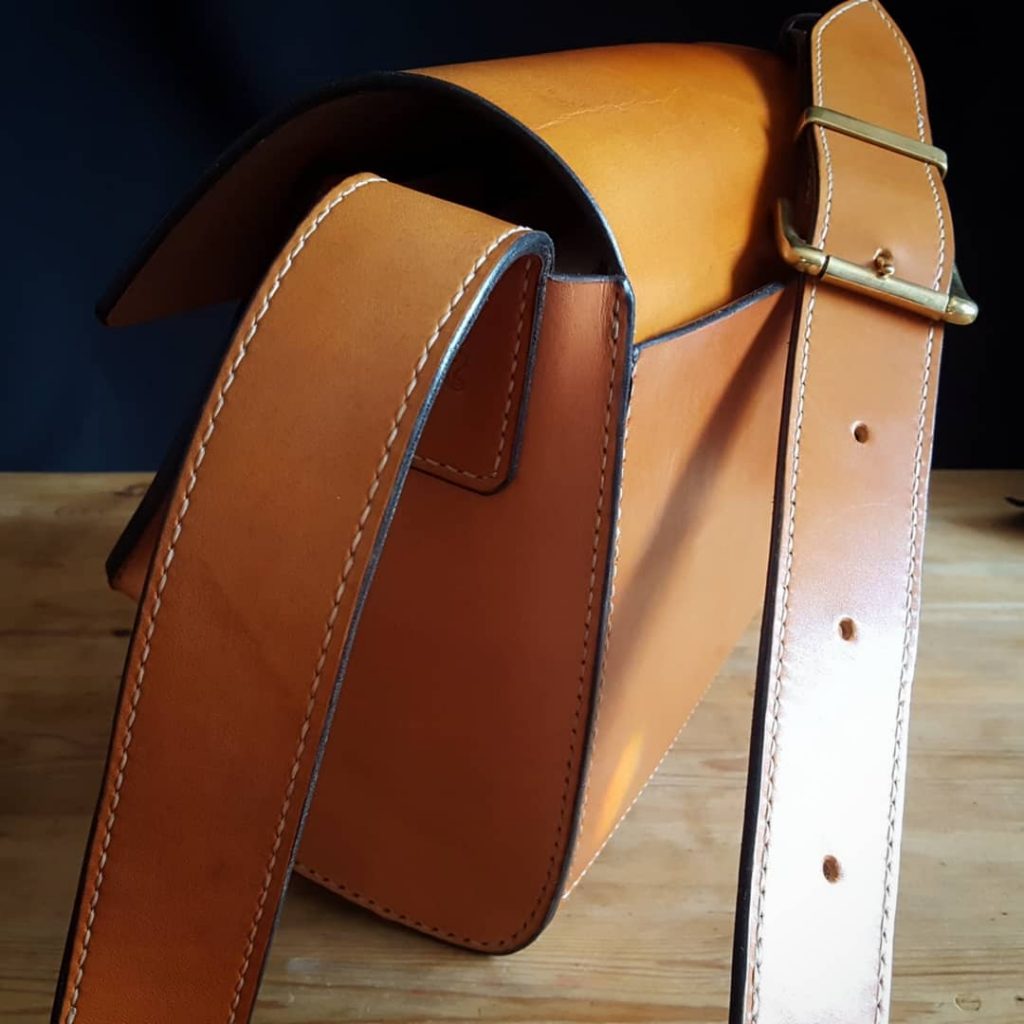
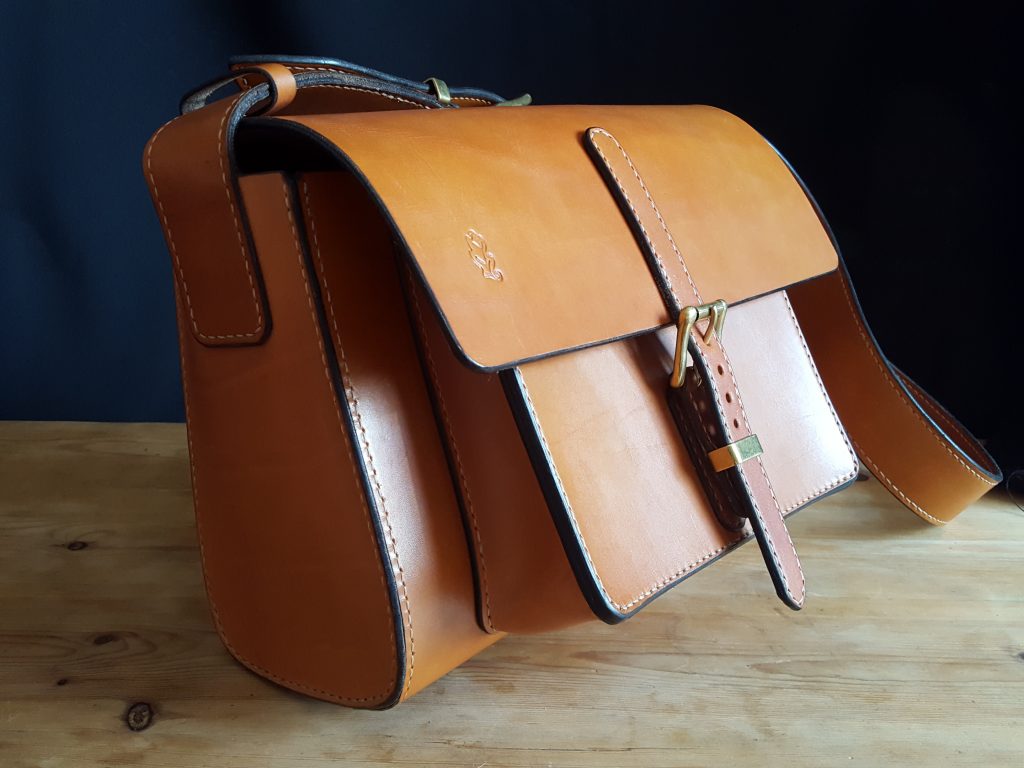
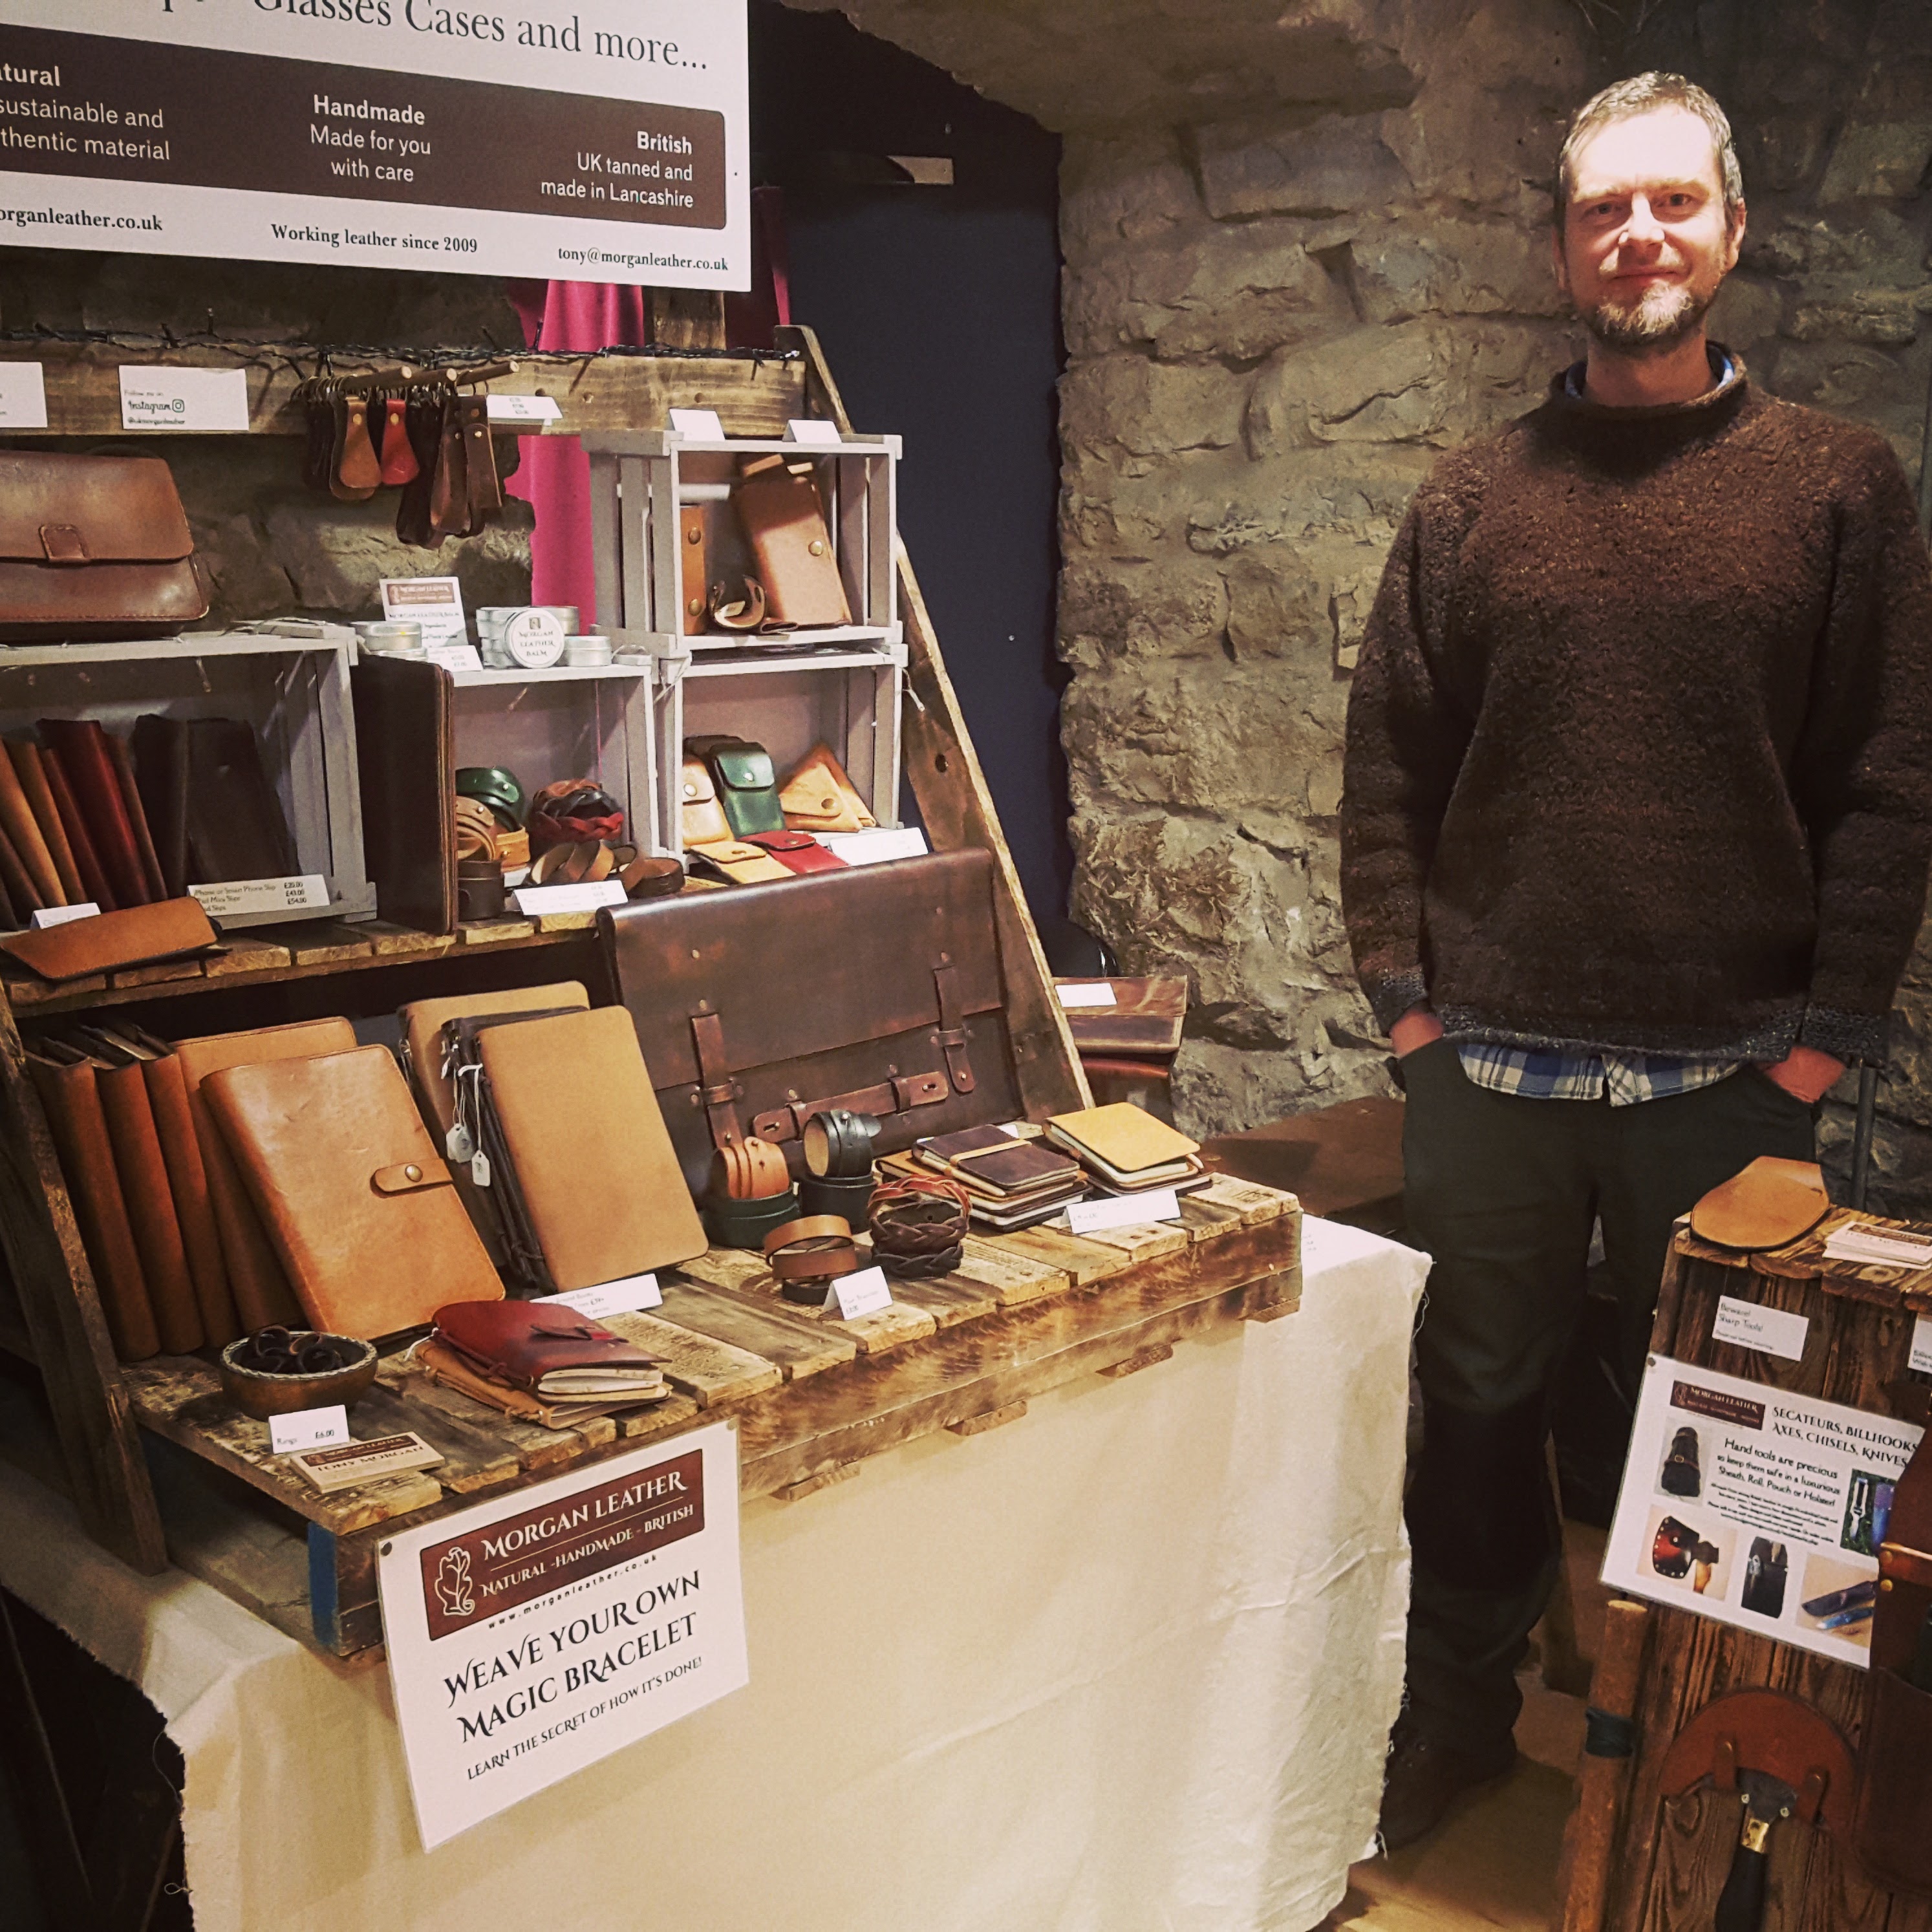
For a sneaky look at the leather-bound books I’ve since been working on then check out my Instagram feed: instagram.com/ukmorganleather

Thanks for reading!


Brady’s Fly-fishing Creel Basket Repair

I was very fortunate to be asked to replace the leather straps on this beautiful old fly-fishing creel basket.

It was bought by the owners at a recent auction, complete with the original canvas bag still in good condition.

The original leather strap was very brittle and had broken in several places so the owner asked me to replace them with new oak bark tanned leather straps.

I used new chicago screws to attach the loops and tabs to the basket and have re-used the original brass buckles.

I also attached two new D-rings to allow the owners to clip on a shoulder strap, and reattached the loop for clipping on the landing net.

Look out for it hanging from the shoulder of Edwin as he fly fishes in the Eden valley and other wonderful locations around Lancashire and Cumbria!

Please drop me a line if you have any old leather that needs repairing. I’ll have a look and happily give you a quote.


Oak Bark Peeling

I went into the woods today and peeled some oak.

Every year, about this time, as the new growth starts to sprout and the sap is rising, woods people gather in Cumbria to peel oak bark to send to the tannery in Devon (the only one still using oak bark commercially).

The happens in a coppiced “coup”, which is an area of broadleaf woodland that is periodically harvested for its wood. Each tree that is cut down grows back by sending new shoots from the roots and stool of the tree. Typically, a coppiced woodland would contain oak, hazel, ash, birch alder and elm. It’s these species that make this practice very different to the clear felling plantation woodlands, where all the tree need to be replanted after harvesting. Coppicers work with nature, continuing a practice that’s been carried out in Britain since the Middle Ages.My wife and I use bent copper pipe to slide under the bark. This doesn’t damage the wood underneath and allows the bark to be pulled away without cutting it.

Coppicing mostly takes place over winter, when the sap is down and there’s little growth to get in the way of working. But when you want to peel oak you need to time it right. May and June are usually the best time of year, but a combination of sunshine, rain and the phase of the moon seem to make a difference to how well the bark peels.

This is Edward (above), and Brian and Ian (below) – long standing members of the Coppice Association North West who organise these events. A nicer group of people you won’t meet. I love spending the day working with these knowledgeable and fun folk.


Each oak trunk is carefully cut with a sharp chainsaw to ensure the stool (the roots) remain healthy. They’ll start growing again this summer and will be ready to harvest again in maybe 15 years.

Here’s the bark taken from one large 4 metre length of trunk and its attached branches.

The peeled oak is used for furniture and bird tables. Anything left over is sold as firewood or turned into charcoal, to be sold to BBQ lovers.

Above is half a day’s peelings. This is transported to somewhere undercover to dry. Then later in the year the tannery will send a flatbed truck to pick up the bark from all the coppice workers in the area.Mike, Dan and John, loading the charcoal kiln with unused and unsuitable wood.


See my Bodger Morgan blog about a visit to the tannery a couple of years ago: A visit to Bakers oak bark tannery

New Year, New Website

After managing for a few years with a clunky shop website I’ve decided to switch over to using Etsy to sell my products.

I’ve also converted all my website pages into this new WordPress website and started my Morgan Leather blogroll.

Using Etsy and WordPress should make my marketing, updating and selling easier, so hopefully I can keep everything feeling more fresh!

I hope you like it and would love to hear what you think!

Christmas Fairs

I had a great season of fairs on the run up to Christmas with loads of new orders.

Thanks to everyone who called by and said hello. And an even bigger thanks to those that cane and bought things!

Lancaster Market

I was setup in St Nic’s Arcade in the centre of Lancaster with the lovely people from Meet the Makers.

Brantwood Winter Craft Fair

Set deep in the heart of the Cumbrian Lake District, overlooking Coniston Water, Brantwood was the home for the famous social thinker, art patron and philanthropist, John Ruskin. Now it’s a beautiful old house and garden open to the public all year round. In November it is filled with Cumbrias greatest artists and crafts people… and me!

Kirkby Lonsdale Market

I’m wearing many layers on a cold winter’s evening at a Christmas fair in Kirkby Lonsdale, Cumbria. I had my own wooden chalet – a great new experience for me.

Kendal Christmas Market

This is my favourite craft fair, set in the Malt Room of Kendal’s Brewery Arts Centre. Loads of other amazing crafters, I usually sell most of my stock!

Old Posts – On My Bodger Morgan Blog

Here are some old posts I stuck on my Bodger Morgan blog…


Leather Sheaths with the Co-op and BHMAT

Learn how to make hard wearing sheaths for your woodworking tools by coming on one of my courses.


A Visit to Baker’s Oak Bark Tannery

In August I was lucky enough to visit Britain’s last oak-bark tannery. They produce top quality leather from Devon’s finest cows using the ancient technique of soaking the hides in oak bark and water. And the great thing is, I peel oak bark with the Coppice Association NW and then sell it to the tannery. So some of that bark was peeled by me!


New Version Billhook Sheath

I’m always looking at how my designs could be improved. Checkout my latest billhook sheath design…


Rub in that Dubbin!

This guide will explain how to get a great finish on your leather.

Plus I’m including a secret recipe for my Morgan Leather Balm!


Morecambe and Wize

High Class VW Campervan Restorers – wow!

I love the VW campervan, especially the T1 and T2, so imagine how chuffed I was to be contacted by Mark Ritson, the director of Morecambe and Wize – Classic Vw Campervan Builders.