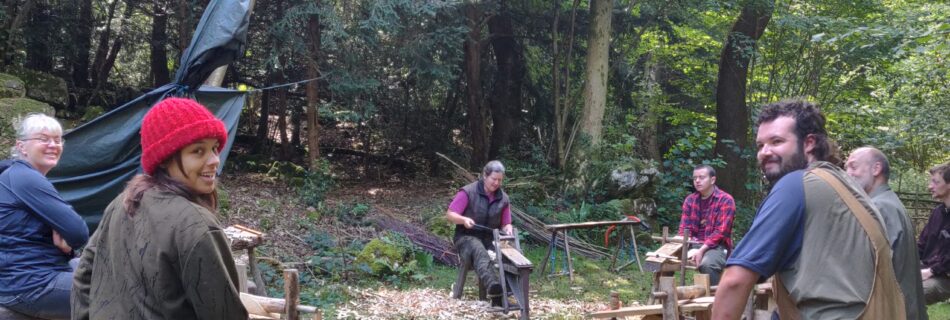
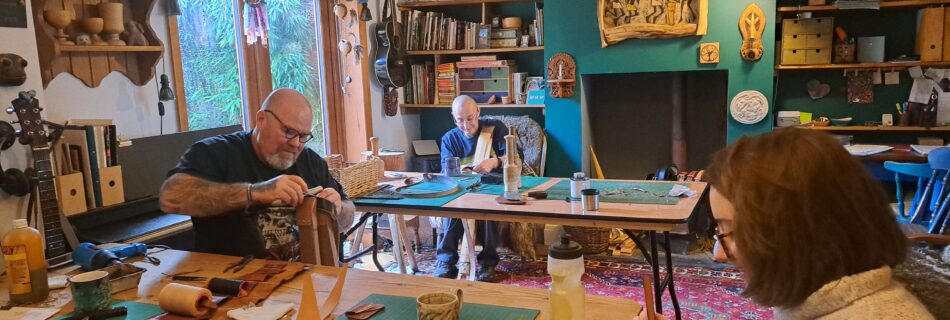
Craft Courses for 2024!

I’m offering some craft courses from home next year. Three different courses over nine different dates.

You can come along and learn to make a phone case, a book cover or a belt. I’ll provide the leather, cake and lunch, you bring your book, phone and trousers!

You can book on now (for you or someone else) by filling in my booking form. Head over to my website and click the Courses link.

This would also make a great Christmas or Birthday gift for someone!

More details on my website: https://morganleather.co.uk/leather-craft-courses/

Come and Make a Leather Book Cover!

A5 British Leather Brown Book Cover

I’ll be running a small workshop on the 23rd March this year to show you how to make a leather book cover, like the one above. You’ll learn to measure and cut veg-tanned cowhide, dye and oil the leather, and stitch all the pieces together by hand to make a beautiful cover for your favourite notebook or sketch book.

Red British Leather cover for Moleskine notebook

More info and booking instructions can be found here:

The skills learnt on this course will allow you to go ahead and make many other leather items.

The course will run for a day at my house in Carnforth, from 9:30 until 4:00 (or until everyone’s finished!).

What’s included in the price?

Lunch (soup, cheese and bread), biscuits, tea and coffee, and hopefully a good chatter and laugh!

Leather and hardware are included to make a simple cover made from standard cowhide, up to A5 size.

If you’d like to make a cover for a larger book then we can work out the extra cost on the day, but to give you an idea, an A4 book cover would cost an extra £10 for the extra leather.

There’ll also be a slight extra charge if you’d like to use more expensive leather (such as the oak bark tanned leather) or if you want closure straps and pen holders added to your design (£10 – £30 extra).

Bring your own favourite book to make a cover for (please let me know dimensions) or you can purchase an A5 or A6 book from me (£6 extra).

Italian leather for A6 journal
A Selection of Leather Book Covers

Drop me a message if you have any questions.

Bookbinding Course

Last month my wife treated me to a book binding course in Lancaster with Big Leaf Books. It was a great day learning the intricacies of cutting paper, stitching signatures and attaching them to the hard backed cover.

I was pretty pleased with the end result:

Now I’m keen to use what I learned to make leather-bound notebooks.

But before I do that I’ll tell you (roughly) how to make a case bound book…!


First we selected which paper to use for inside lining and the front and back cover. So many choices! I wanted my outside to be plain blue so thought the red and gold flowers would go well inside.

The next job was to make a set of 8 “signatures”,  each one being a set of 4 folded pages made from cutting up a sheet of A2 cartridge paper. Sounds complex but it’s easy.

Fold the A2 sheet in half. The fold was made sharp using a bone folder…

Then use a blunt(ish) knife, and the edge of the table, the cut along the fold. Now you have 2 sheets. Carefully fold these in half, keeping them together, and cut along the fold again to get 4 page. The fold these in half and put to one side. We called these “signatures”.

We repeated this 8 times to end up with 8 signatures.

We marked the inside of the middle sheet in each signature with 8 dots using a template, then pushed an awl (shown in the photo) through the paper from the inside to make 8 holes on each of the 8 signatures that contained 8 pages each.
I don’t think it needed to be 8 of any of these things, but obviously for uniformity…!

Then we started sewing the signatures together, including two cotton tapes, which will be all that’s needed to glue to the book cover. The sewing is simple – in and out along the first signature to hold those 8 pages together, then step up to the next signature and along that. Before stepping up to the third signature (shown below) you went back down to the first signature with your needle and thread and then back up again. This gave a continuous vertical stitch line. The whole task was made easy by using a brick covered in felt (shown above) to weigh the signatures down and to stop them from moving. You then had two hands available to carry out the stitching. It was also easier if you moved the stitching to be over the edge of a table.

A full set of signatures, all sewn together, is called a “book block”.

I’m afraid my memory, and photos, got a bit vague from here on in as we were against the clock to get our books finished, but basically the next steps were:

  • the edge of the book block was hammer round and slightly flayed,
  • a coating of PVA glue applied and a piece of open-weaved material, called “mull” stuck on and rub in,
  • then over this a piece of strong paper, the same length as the length of the spine, was stuck and pressed in place.

What remained to do was to:

  • Cut the book boards (the thick cardboard for the front and back covers).
  • Cut and shape the spine from another piece of card. We used the top of a safety ruler to get the bend in.
  • Cut the outer fabric or book linen.
  • Glue the spine to the centre of the fabric, then glue the front and back covers on. This was all done by eye, leaving a gap of about 3mm between each.
  • The corners of the fabric were cut and then the folded over to the inside, with special attention paid on the corners.
  • Then the lining was glued to the first page and the inside of the front cover, to cover the mull and tape.

This last bit was tricky when done by eye, but turned out ok for a first book!

I’d highly recommend attending a local book-binding workshop. Not only did I learn new skills but also met some very interesting people.

For a sneaky look at the leather-bound books I’ve since been working on then check out my Instagram feed: instagram.com/ukmorganleather

Thanks for reading!